The Ultimate Guide To Installing Laminate Flooring Yourself
Installing laminate flooring yourself is not always as difficult as it looks. If you have some experience with DIY, the right equipment and the time to do the job, there’s no reason why you can’t install your own laminate flooring.
Here’s our ultimate guide to installing laminate flooring yourself. This covers the following sections:
- Step 1: Measure the floor
- Step 2: Choose laminate planks
- Step 3: Gather the tools you need
- Step 4: Decide on a pattern
- Step 5: Prepare the floor
- Step 6: Install underlays
- Step 7: Install the first row
- Step 8: Tips for corners and transitions
- Step 9: Finish up the floor
Step 1: Measure the Floor
The first step when it comes to installing laminate flooring yourself is to measure the floor.
This needs to be accurately calculated as the last thing you want when it comes to installing your flooring is to find you don’t have enough laminate to finish the job.
The easiest way to do this is to work out how many square metres you need. Measure the length and width of each room. Then multiply one by the other to get the total square metres.
For example, if a room is 4m long and 5m wide, the total square metres of the room are 20m².
If you’re measuring multiple rooms and passage areas, check out our handy flooring measuring guide here for how to work out more detailed calculations.
Expert Tips:
Always add another 5% on top of your final calculations to allow for wastage when it comes to cutting.
Step 2: Choose Laminate Planks
Now you know how much laminate flooring you’ll need, it’s time to choose your style.
You might start feeling a little overwhelmed at this point – there are so many different options on the market when it comes to laminate flooring.
Consider the areas in your home where the flooring will be laid and what kind of foot fall they will experience. Do you need the flooring to be extra durable as it will have lots of traffic in the home? What colours are best suited to the rooms? What kind of warranty do you need the flooring to have?
Once you have narrowed down your selection, other factors to consider are the quality of the laminate, the price per square metre and the value for money your laminate offers.
Don’t forget to order any Finishing Scotia and Expansion or Doorway Trims you may need as well.
Expert Tips:
Don’t choose laminate on looks alone – quality, durability and value are all important considerations too.
Step 3: Gather The Tools You Need
Before you can start installing your new laminate flooring, you’re going to need some equipment.
This should include:
- Hammer
- Jigsaw
- Nail gun and nails
- Saw
- Sawhorses
- Spirit level
- Tape measure
- Set square
- Tapping block
- Pull bar
- Safety glasses
Expert Tips:
Invest in a dust mask and some ear defenders too – you’ll be thanking us later!
Step 4: Decide On A Pattern
Before you lay your first piece of flooring, you need to choose what direction to lay the panels.
Generally, the best direction is the same direction as the main light source, and in line with the entrance to the room that is most often used.
If the room is narrow, you can lay the flooring widthways to make the room feel wider than it is.
If the room is short in length, installing the flooring lengthways can add depth to the room and help it feel bigger.
Expert Tips:
If you’re installing flooring to multiple areas, say from your front door and into all main living areas, start at the front door and lay the flooring lengthways from there, in the same direction.
Step 5: Prepare The Floor
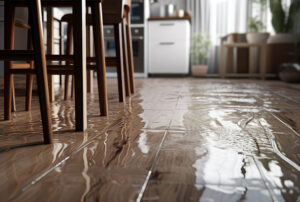
Making sure that the floor is ready for laminate to be installed is crucial. The floor needs to be level and free from any damp or excess moisture.
If you have any concerns about damp in your existing subfloor, you can test for it by laying a square plastic sheet around 1m long and sealing it to the floor with duct tape along all sides.
Wait 24 hours and then remove it. If there are any water droplets or dark patches on the concrete you may have to postpone installing your flooring until the moisture issue has been resolved.
Look for any dips in the flooring where it is uneven. These dips will need to be filled in before you lay your flooring.
If your door frames are made from wood, the easiest way to lay your flooring around it is to undercut them to the height of your new flooring. Don’t forget to include any underlay as well as the height of the laminate before you cut them.
Expert Tips:
If you are installing laminate flooring in an existing tiled area, you may be able to lay the laminate on top of the tiles as long as the floor is even. Avoid the hassle of removing the tiles and making the floor good again by laying the laminate on top of the tiles (check with your laminate supplier first if you are unsure about this).
Read more in how to prepare your floor before installing laminate.
Step 6: Install Underlays
A lot of people question what sort of underlay will be suitable, or if underlay is required at all.
Underlay provides more than just extra height. It is essential as a barrier between your concrete floor and your laminate. It means that you’ve got an extra layer of protection between any moisture from the floor that could affect the structure of your laminate and cause it to warp.
It also provides a reduction in noise from footsteps and echoes in the room – generally the thicker the underlay, the more improved the noise reduction.
Another reason to install an underlay is to provide an extra layer of insulation, preventing cold and heat from seeping through the concrete floor and into your room. If you’ve chosen an underlay, unroll it throughout the room adjacent to the longest wall in the room.
Cut away any excess underlay and ensure it covers the entire room.
Expert Tips:
You can attach each section of underlay to the one next to it with some adhesive tape. Alternatively, simply place your laminate panels as you mean to lay them on top of the underlay to keep it secure.
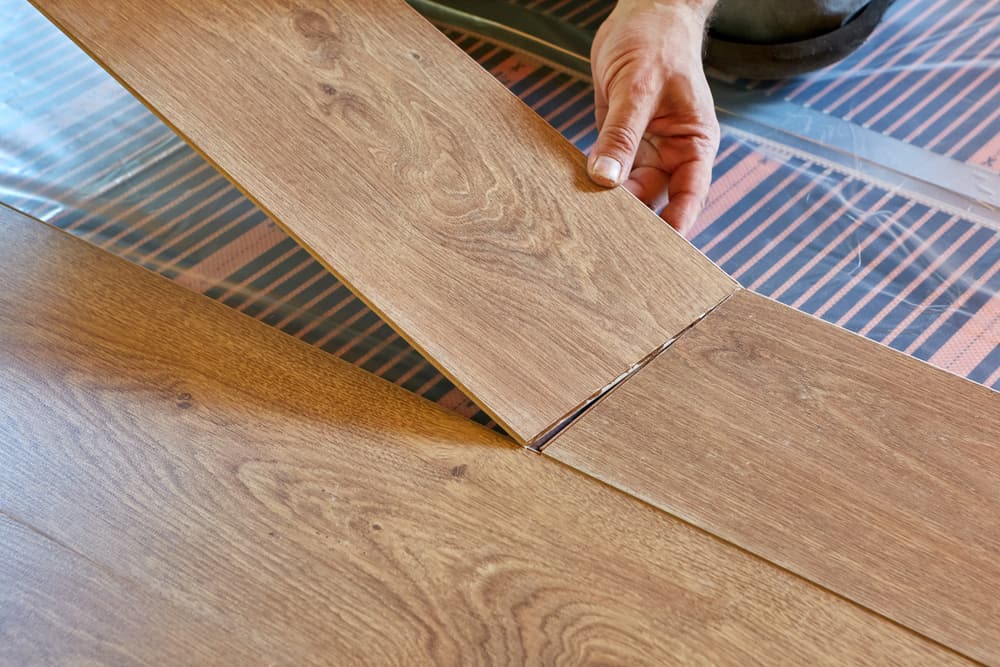
Step 7: Install the First Row
Install the first row of planks along the longest wall or the wall from your starting point.
Allow for expansion by leaving 1cm along the end of each row of laminate when configuring your panels.
Lock the ends of each panels together until you reach the end of the room. Cut the last piece to fit if it is less than a full length of laminate required.
Start the second row with the piece you’ve trimmed from the previous row. Fit the tongue of the panels in the first row into the groove of the panel in the second row. You should hear a click – this tells you the panels are locked together.
Use a tapping block and a hammer to close the gap between each panel of laminate in the row.
Add a scrap of the laminate to the open side of where the two panels meet to ensure they are held in place and don’t pop out of position when you tap the end.
For the panels that meet the wall, use a pull bar to tap the panel into place. Hook the pull bar over the end of the panel and tap it with the hammer to fix the panel into position.
Expert Tips: Ensure that the end joints are not near the ones in the previous rows to create a more aesthetic finish. A gap of at least 30cm between adjacent end joints is the general recommendation.
Step 8: Tips for Corners And Transitions
Corners and transitions are often the trickiest part of installing laminate flooring yourself.
If you’ve already planned ahead for them though, it won’t be too difficult to manage for an experienced DIYer.
When it comes to laying laminate flooring around door frames you have two options – either cut under the frame and lay the flooring underneath it, or cut the panels around the door frame.
You’ll need to use your jigsaw if you opt for the latter.
You’ll also need to trim the locking section of the tongue from the previous row before installation. To lock the rows together, apply a glue recommended by the manufacturer to the panel that has had the tongue lock trimmed and then tap the notched panel to fit under the doorframe and against the adjacent row.
Expert Tips:
Measure any cuts for corners and doorframes with extra care – it’s often one of the biggest areas of wastage when it comes to DIY laminate flooring installation.
Read our tips on installing laminate in the most difficult areas.
Step 9: Finish Up The Floor
When it comes to sealing your floor, most laminate panels do not need an extra layer of sealing.
If you’ve locked the panels together properly, they should be watertight and gap-free.
However, it’s a good idea to seal the edges of the flooring where it meets the wall as sometimes water can get into this space and damage the panels.
One way to do this is to add a skirting rail or Scotia on top of the laminate flooring. It’s a simple solution that seals any gaps and also adds an appealing look to the room.
Expert Tips:
Check your flooring very carefully for any gaps as soon as the panels have been laid and make sure they are addressed before any problems could arise.
Read More Blogs
About Ian Minotti
Ian is a renowned floor covering expert in product knowledge and installation. He is specialised in all types of floor coverings for many years and his knowledge in the industry is exceptional. Feel free to ask Ian any floor covering question you may have.
Article Topics
Recent Articles
-
![Parrys Carpets: All The Luxury. None Of The Upkeep]()
All The Luxury. None Of The Upkeep
Choosing flooring is one of those decisions that shapes how a home feels for years....
Keep Reading -
![Parrys Carpets: How Plank Width Changes Your Space]()
How Plank Width Changes Your Space
Wide planks are among the hottest trends in timber and timber-inspired flooring in 2026 and...
Keep Reading -
![Parrys Carpets: What “100% Waterproof” Really Means]()
What “100% Waterproof” Really Means
When you live in a busy household with kids, pets or a pool, waterproof floors...
Keep Reading