Expert tips on laying laminate on corners, edges and transitions
Using laminate flooring for your home is a great way to achieve a wood-like look and is usually an inexpensive and durable alternative to hardwood flooring. However, fitting laminate around corners, edges and transitions may prove a little bit challenging and if not done correctly, it can ruin the look of your floor.
The expert staff at Parrys Carpets have many years of experience in installing all laminate flooring for their customers, and so have put together this helpful guide on how to achieve perfect results when laying and fitting laminate flooring around these more difficult parts of your home.
How to fit laminate flooring around door jambs?
Laying your laminate flooring around door jambs may make or break the appearance of your floor. To achieve a seamless fit, it is important to cut or trim the bottom part of the door jamb to create space for the flooring. This can be done with a saw quite easily, but be careful to cut in a level line.
Our tips: Use a piece of off-cut that you have cut to the right height to use as a guide for your saw. This will the give you the space needed to allow for the laminate to pass underneath the doorjambs for a neat look.
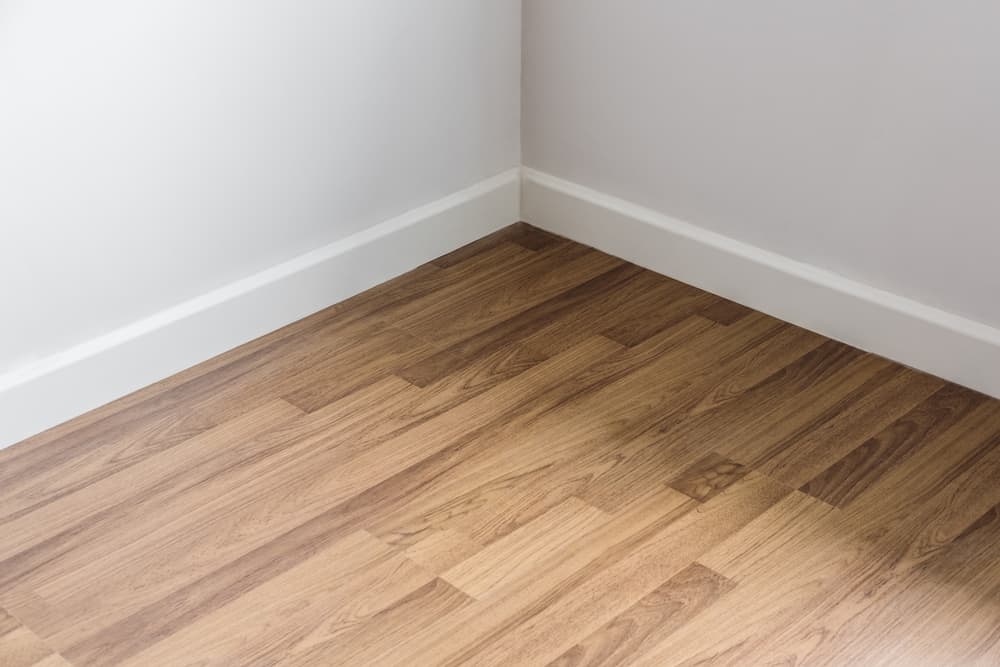
Fitting laminate around corners?
Installing laminate flooring around edges requires accurate measurements to maintain the patterns.
The last board should be at least 15 cm from the wall as you approach the corner, so it is not too short. You need two measurements to fit the laminate around the corner: the distance from the end of the last board to the beginning of the corner and the distance from the corner to the tongue-edge of the board you’re installing. Then you’ll need to make two cuts into to take a notch out of the plank so it can fit around the corner, this can best be done with a jig-saw or hand saw. Once cut, then you just need to install the plank in place.
When laying laminate around inside corners, leave around 10mm of space from the wall for expansion and to allow the laminate flooring to fit.
How to end laminate flooring at the doorway?
Ending the flooring at the doorway may result in visible gaps that end up looking unprofessional. When ending your laminate flooring at the doorway, ensure that the transition strip (finishing trims), if using, is directly under the door so that it is hidden from view. You can also trim the underside of both door jambs then fit the pieces of flooring with the second one being just at the doorstep.
Our tips: When in place, slide the flooring pieces as far under the frames as possible to cover the ends.
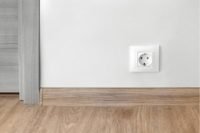
How to install transition strips?
Transition strips are great for a professional-looking finish and will improve the longevity of your floors. They can also increase the safety of your home as they clearly define different flooring materials. You can get different transition strips depending on what other flooring you are ‘transitioning’ to, popular ones being tile and carpet. When installing the transition tips in laminate flooring, it is essential to leave enough space between two floors so that there is space for the base-track to fit into. This part is what holds the transition strip in place. A too-small gap will make fitting the strip difficult and may ruin your floors.
Our tips: If you are placing the track using glue, allow 24 hours to pass before fitting in the transition moulding to guarantee a secure hold.
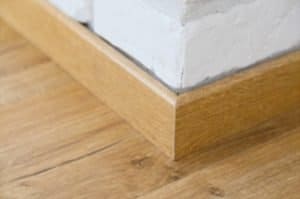
How to install skirting?
Skirting hides unattractive meeting points between the laminate flooring and the walls and is especially important for laminate flooring where you must leave a slight gap along the wall to allow for expansion. It is advisable to use skirting boards that match the flooring for a neat look. For shorter skirtings, join two pieces by first cutting at angles of 45 degrees and then joining with nails or glue.
Skirting must be installed after the laminate flooring has been finished; this is the best method as it looks the most seamless and professional.
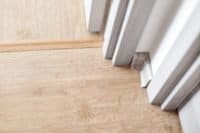
However if you are installing laminate with existing skirting, you can use Scotia or beading to fill in the gap between the laminate and the skirting board meet, this can also look great as long as it is done correctly.
When fitting laminate floor Scotia or beading, apply the glue at the back of the beading to stick it to the skirting and not the laminate floor.
Our tips: You can hold the beading in place with heavy objects to let it dry and secure it in place with an electric nail gun and headless pins.
Adhering to these tips will give your laminate floors beautiful, flawless and professional finishing. If you have any questions about laminate or you would like to organise one of our expert Parrys Carpets team member to install your flooring, get in touch with us today.
Read More Blogs
About Ian Minotti
Ian is a renowned floor covering expert in product knowledge and installation. He is specialised in all types of floor coverings for many years and his knowledge in the industry is exceptional. Feel free to ask Ian any floor covering question you may have.
Article Topics
Recent Articles
-
![Parrys Carpets: When What’s Underfoot Actually Changes How a Room Feels]()
When What’s Underfoot Actually Changes How a Room Feels
Most flooring conversations start with how something looks. SpaceWalk starts with how something sounds, and...
Keep Reading -
![Parrys Carpets: All The Luxury. None Of The Upkeep]()
All The Luxury. None Of The Upkeep
Choosing flooring is one of those decisions that shapes how a home feels for years....
Keep Reading -
![Parrys Carpets: How Plank Width Changes Your Space]()
How Plank Width Changes Your Space
Wide planks are among the hottest trends in timber and timber-inspired flooring in 2026 and...
Keep Reading