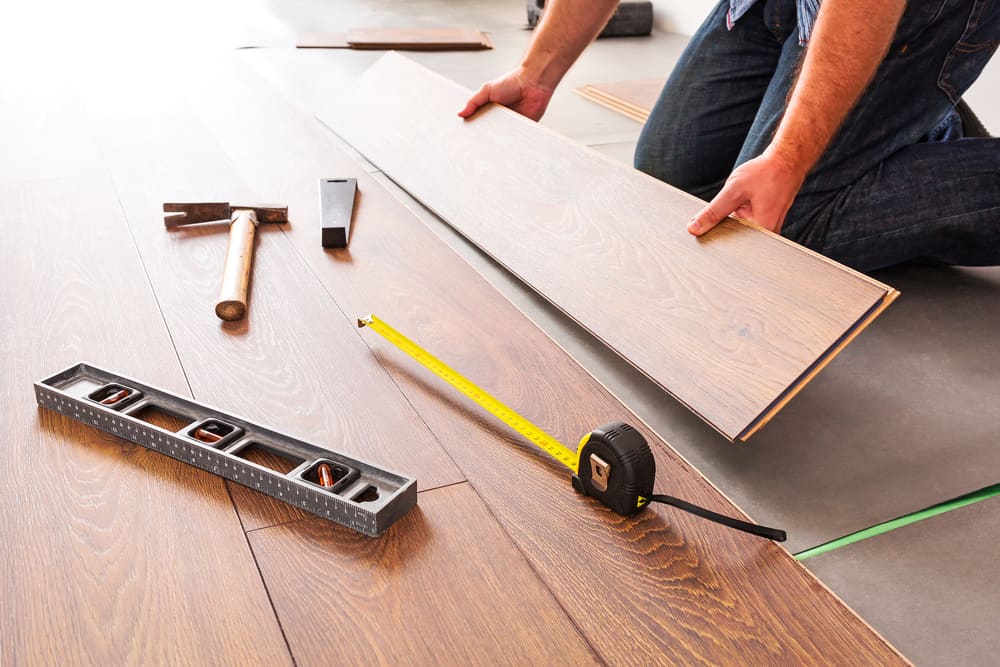
How to install luxury vinyl plank flooring
When deciding which vinyl flooring product to choose for your project, you will generally be presented with three different options: vinyl planks or tiles, luxury vinyl planks and vinyl sheets. You can learn more about the different types of vinyl flooring in this previous post but in short, the main points of difference lie in their composition and installation methods.
Composition: unlike vinyl sheets, luxury vinyl planks are made up of multiple layers, including fiberglass. These layers are pressed together which makes them very rigid and hard wearing. Vinyl sheets are softer and are made of vinyl resting on a backing sheet of fiberglass.
Installation: while our vinyl sheets need to be loose laid on the floor, most of our vinyl planks need to be glued down to the subfloor.
In this post, we will be providing you with tips on how to install stick down luxury vinyl flooring in your home.
Prepare the work area
As part of the preparation work, you may need to undercut any baseboards and door jambs to make sure the luxury vinyl planks can slide underneath.
As with any type of floorcovering, you will also need to ensure the subfloor is flat, smooth, dry and clean. Uneven and rough spots can lead to noticeable raised areas that will wear faster than the flat flooring around them.
Divide the surface area of your room into smaller sections by measuring from the main wall and marking out with chalk on the subfloor.
Apply adhesive glue
Using a trowel, apply the glue to one of the sections you have drawn and spread it as evenly as possible. Try to get as close into the corners as you can and avoid leaving any excess glue behind. Always use the adhesive as recommended by the manufacturer.
Lay down the planks
Once the adhesive glue has been applied you can start laying the planks. Place the first vinyl planks along the chalk lines and lay them row by row.
Press the planks firmly onto the subfloor to avoid any air pocket formations and butt each piece up to the next one so that there are no visible gaps. You can also use a vinyl floor roller to apply extra pressure to each plank so that they bond to the floor surface.
Once the first section is complete, move on to the remaining sections one at a time, repeating the previous steps.
Finish the floor
Using a damp rag, clean up any excess glue that may have oozed up between the planks or was smudged on the floor.
For a finished look, shoe molding can be applied to cover the expansion gap between the flooring and the base trim.
As always, when installing new vinyl flooring, follow the manufacturer recommendations specific to your product or contact a Parrys professional installer if you have any further questions.
Read More Blogs
About Ian Minotti
Ian is a renowned floor covering expert in product knowledge and installation. He is specialised in all types of floor coverings for many years and his knowledge in the industry is exceptional. Feel free to ask Ian any floor covering question you may have.
Article Topics
Recent Articles
-
![Parrys Carpets: When What’s Underfoot Actually Changes How a Room Feels]()
When What’s Underfoot Actually Changes How a Room Feels
Most flooring conversations start with how something looks. SpaceWalk starts with how something sounds, and...
Keep Reading -
![Parrys Carpets: All The Luxury. None Of The Upkeep]()
All The Luxury. None Of The Upkeep
Choosing flooring is one of those decisions that shapes how a home feels for years....
Keep Reading -
![Parrys Carpets: How Plank Width Changes Your Space]()
How Plank Width Changes Your Space
Wide planks are among the hottest trends in timber and timber-inspired flooring in 2026 and...
Keep Reading